1. Installing the Connector
To install the connector, please install the FSM via FirstSpirit ServerManager.
Thereafter, you can open translationstudio’s configuration panel, navigate to custom connectors, click on the add button and choose the connector from the given list. Its configuration panel will open automatically.
2. Requirements
The connector uses the RWS Trados Enterprise API and requires
-
an accessible API URL
-
client id
-
client secret
-
LC account id
3. Configuration
3.1. Account Configuration
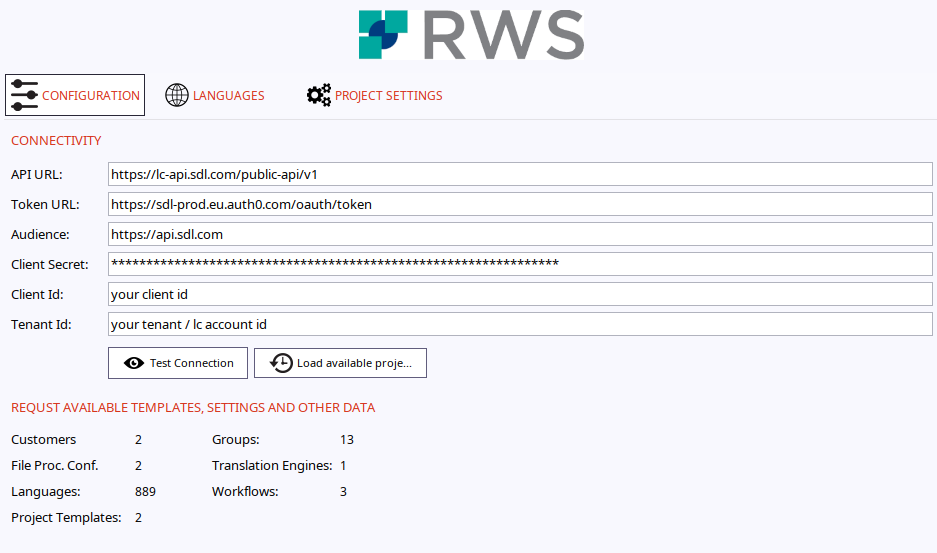
You have to provide valid credentials here.

The connector creates new projects for every translation job (which may contain several XMLs) using a project template.
Therefore, pleases click on Load available projects templates and workflows to fetch all available configuration data.
3.2. Languages
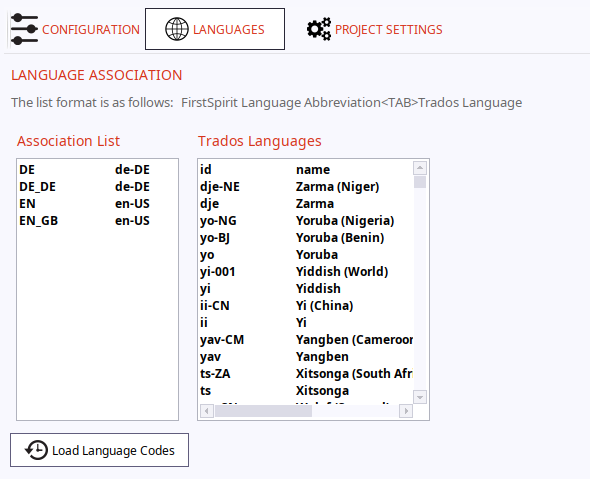
RWS uses its own language codes whereas FirstSpirit uses language abbreviations.
Consequently, you have to tell RWS which language code to use for a given FirstSpirit language.

Conveniently, the list will be updated whenever you query for project creation options.
3.3. Project Settings
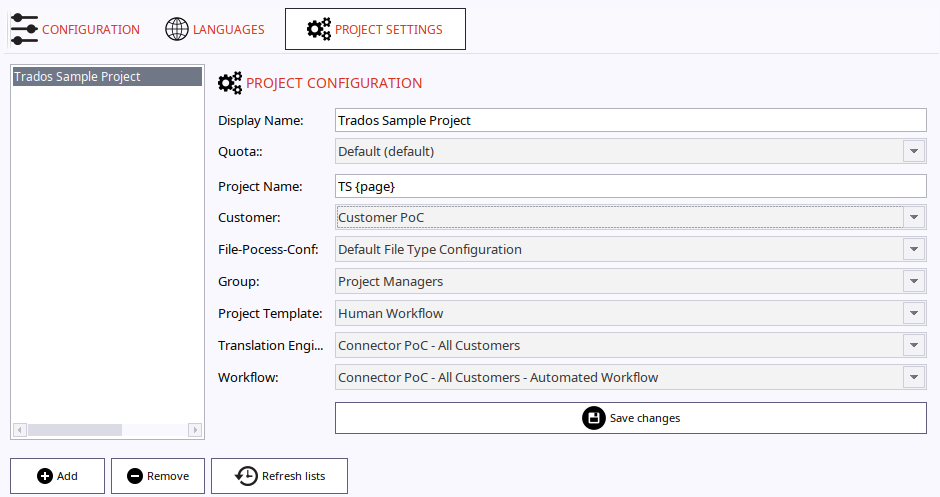
In order to make a Trados Enterprise project available to translationstudio, you have to create a new project by clicking on the button add.

The project created here will be made available to translationstudio’s language mappings.
| Make sure your project template accepts your source and target languages as well as the XML file format. |
Please do not forget to save your changes
4. Information about how the connector works
The connector creates projects in RWS Trados Enterprise and checks if a project’s status has been changed to "completed" or "archived". If so, the respective files are downloaded automatically and the project will also be renamed to indicate that translationstudio has downloaded all files successfully.